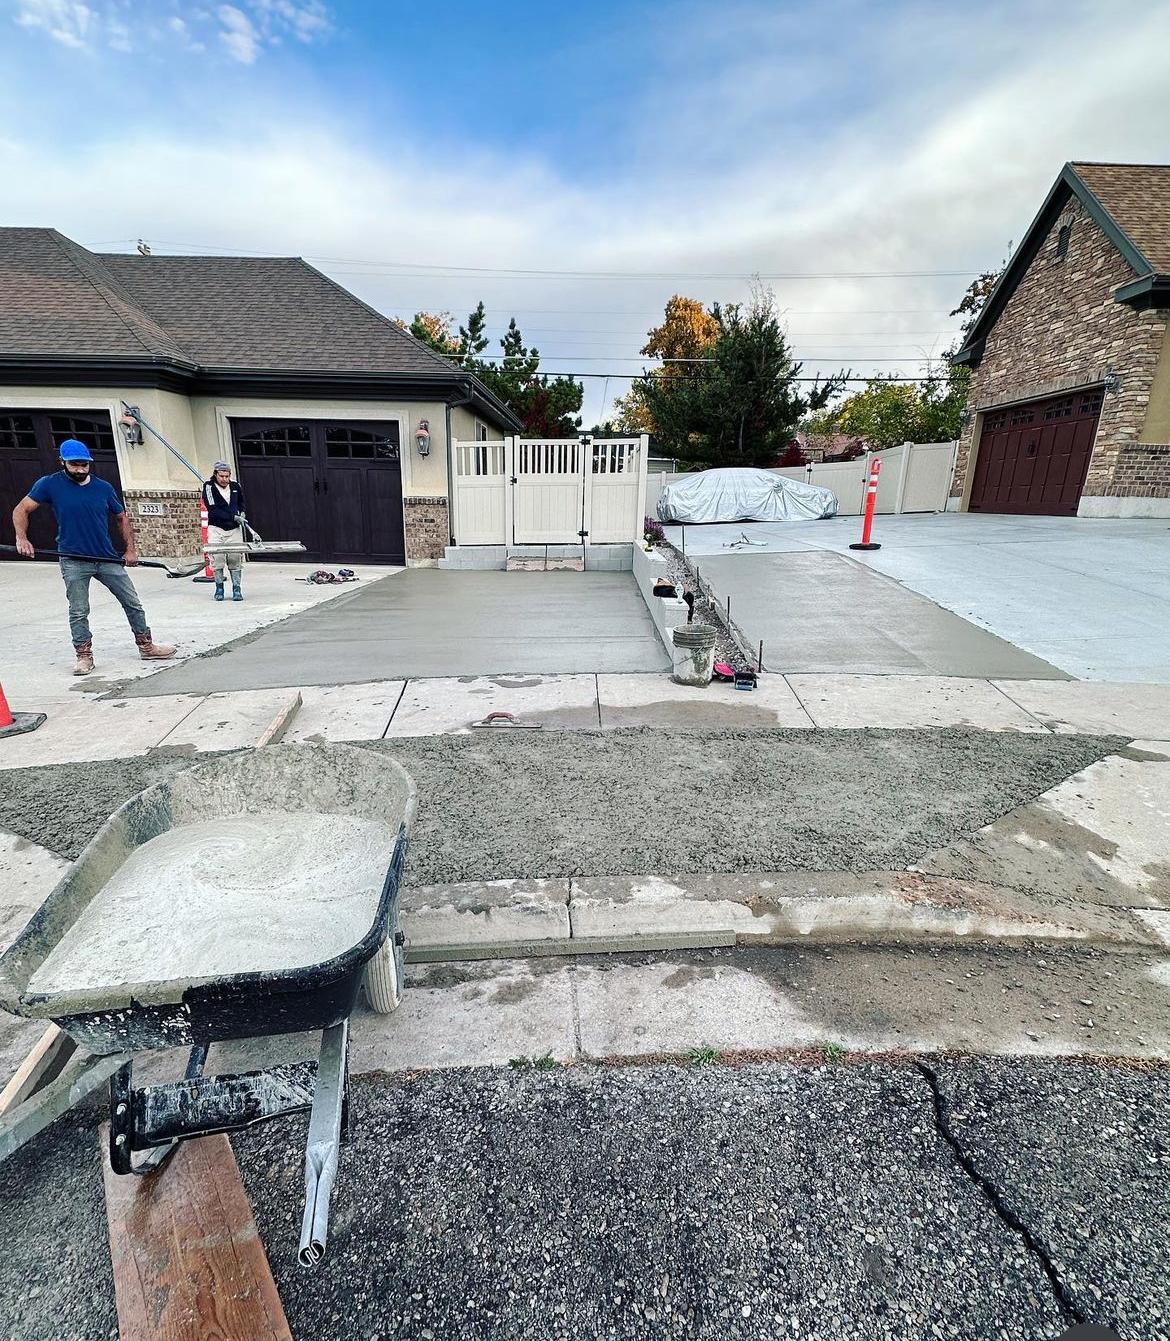
Concrete Walkways for Older Homes in Utah: Matching Style & Replacing Settled Sections
Quick answer: A walkway replacement on an older Utah home is mostly a character-matching problem and a base-failure problem. Most original walkways in the Avenues, Sugar House, Holladay, Bountiful, and Murray were poured 3’ wide on minimal base — they’ve survived 60–100 years of freeze-thaw, but the failures we see today are tree-root heaves, settled trench backfill, and surfaces that finally gave up. Replacement runs $10–$18 per square foot for a standard broom finish; $14–$24 per square foot for finishes that match original aggregate, score, or salt textures. The key is doing the base work right so the new pour outlasts the original.
If your home is in one of Salt Lake County’s older neighborhoods — the Avenues, Sugar House, Liberty Wells, Capitol Hill, Holladay, Murray, parts of Bountiful, or really any block built before 1980 — there’s a good chance your front walkway is original. It’s probably narrower than current code, has a different finish than anything sold at Home Depot, and somewhere along its length it’s heaved up over a tree root, dropped into an old utility trench, or simply failed at the surface from decades of freeze-thaw and deicing salts.
Replacing a walkway on an older home is not the same project as replacing a walkway on a 2010 build. The challenges are matching the original character so the new pour doesn’t look out of place, dealing with a base condition that was never designed to modern spec, and working around mature landscaping, original step risers, and brick or stone porches. Here’s how we approach it.
Why Old Walkways Fail (And What That Means for Replacement)
The four common failure modes we see on walkways from older Utah homes:
Tree Root Heave
The most common failure on Avenues and Sugar House walkways. A street tree planted 60 years ago has root systems that have grown under the walkway, and as they thicken they lift the slab in a curved arch. The slab cracks, then the cracked sections each get pushed at different angles. You can’t fix this without removing the slab and addressing the root — cutting a major root often kills the tree, so the conversation with the homeowner is whether to reroute the walkway around the tree or accept that the new pour has a 10–15-year window before the same root causes the same problem.
Settled Backfill Over Old Utility Trenches
Many older homes have water, sewer, or gas line trenches that cross under the walkway. The original 1950s trench backfill was often just whatever soil came out, replaced loose. Over decades it consolidates, the walkway settles into the dip, and you end up with a low spot that holds water and ice every winter. The fix is to dig out the bad backfill, replace it with proper compacted road base, and pour the new section thicker over that zone.
Surface Failure from Salt and Freeze-Thaw
Decades of deicing salt and freeze-thaw cycles eventually exhaust any concrete surface, even one originally poured well. The cement paste flakes off, exposing the aggregate, and the surface becomes pitted and rough. This is a sign the slab has reached end of life on the surface; the underlying concrete may still be structurally sound, but the surface is no longer maintainable.
Patches That Failed Worse Than the Original
The other thing we see constantly: a 1970s walkway that was patched in 1995, and the patch itself is now the worst part. Patches rarely match the surrounding concrete in expansion behavior, finish, or color. After two winters they pull away from the original slab and create a new failure point. When this has happened more than once, replacing the entire walkway in a single pour ends up cheaper than continuing to patch.
Whatever the cause, the failure mode determines the replacement spec. Tree root work needs root barriers; settled backfill needs base remediation; surface failure on a sound base may allow a stamped overlay; multi-patch failures usually mean full replacement.
Matching the Character of an Older Home
The cosmetic side of an older walkway is genuinely harder than the structural side. A new gray broom-finish walkway in front of a 1920s Avenues craftsman or a 1950s Sugar House rambler will read as obviously new in a way that hurts curb appeal. The fix is matching the era. Five finishes that were standard on older Utah walkways and still look right today:
1. Salt Finish
Common on 1940s–1970s walkways. Rock salt is broadcast onto the wet surface during finishing, then washed out the next day, leaving small pock-marks across the surface. Subtle, has the slight texture of well-aged concrete, and reads as period-appropriate without trying. Works on craftsman, mid-century, and ranch homes. Adds about $1–$2 per sq ft over a broom finish.
2. Exposed Aggregate
The textured surface where the top layer of cement paste is washed off to reveal the stone underneath. Standard on a lot of pre-1970 commercial and high-end residential walkways. Period-correct for prairie-style, craftsman, Tudor, and 1920s–1950s homes. Aggregate selection matters — pulling a sample from a sound section of the original walkway lets us spec a replacement aggregate that’s close. Adds about $3–$6 per sq ft.
3. Scored Squares or Diamonds
Many older walkways were broken visually into 3’ or 4’ sections with scored lines forming squares or diamonds. The score lines are part of the era’s aesthetic but also functional — they double as control joints. We match original score patterns by measuring existing intervals and replicating them in the new pour. Adds about $1–$2 per sq ft.
4. Broom Finish (But the Right Direction and Coarseness)
Even straight broom finishes were not all the same. Older walkways often have a coarser broom drag, sometimes pulled diagonally instead of perpendicular to the path. A skilled finisher can match the broom angle, coarseness, and pattern by looking at any sound section of the original. Same cost as a standard broom, just a different technique on the day of the pour.
5. Tinted or Colored Concrete
Older walkways are rarely pure gray — weather, age, and the original cement source give them a warm tone. A small amount of integral pigment (tan, buff, or warm gray) brings a new pour visually closer to the existing concrete on the property. Match a sample by pouring a small test slab in the back yard a week before the main pour. Adds about $2–$4 per sq ft.
If you’re weighing finishes more broadly, our post on stamped concrete vs pavers covers the trade-offs across finish types.
Width, Steps, and Code Considerations
One quirk of older Utah walkways is that they’re narrower than current builds. A typical 1930s–1960s walkway is 3 feet wide. Modern walkways are usually 4 feet wide so two people can walk side by side or so a wheelchair can pass. The conversation with the homeowner is character vs functionality:
- 3’ wide — preserves the original proportion of the path against the home and yard. Right for purist restoration.
- 4’ wide — modern functional standard. Matches anything you’ll do later.
- 3’ 6” wide — the compromise. Reads as period-appropriate but adds practical room for two people.
Steps are a separate problem. Older homes often have brick, sandstone, or concrete steps at the porch that we don’t want to disturb. The walkway needs to terminate cleanly at the bottom step without a visible age line between old and new. We typically pour the new walkway with a slightly recessed final foot that allows for a transition strip or a tighter joint with the original step face.
For the actual walkway slab spec on older homes:
- Thickness: 4 inches minimum for foot traffic; 5 inches if a side yard walkway sees occasional vehicle crossing
- Concrete strength: 4,000 PSI with 5–7% air entrainment (required for Utah freeze-thaw)
- Reinforcement: #3 rebar grid on 18” centers, or fiber-reinforced mix on shorter runs
- Base: 4 inches of compacted 3/4” road base over compacted native soil
- Slope: 1/4” per foot away from the house, or to the side for crowned center walkways
- Control joints: Every 4–5 feet, sawcut or tooled to match the original score pattern
Going thicker than the original is fine and usually cheap insurance. Most original walkways from the 1920s–1960s were only 3” thick on a couple inches of native soil. The reason they lasted as long as they did is older concrete mix designs and a less aggressive freeze-thaw climate before climate variability and modern deicing salts made things harder. Our deeper guide on concrete thickness applies the same logic to driveways.
Real Cost Ranges in Salt Lake County (2026)
| Finish | Per Sq Ft Installed | Typical 30 ft x 3.5 ft Walkway (105 sq ft) |
|---|---|---|
| Standard broom finish | $10–$14 | $1,050–$1,470 |
| Salt finish | $12–$16 | $1,260–$1,680 |
| Scored / pattern broom | $12–$15 | $1,260–$1,575 |
| Tinted standard | $13–$17 | $1,365–$1,785 |
| Exposed aggregate | $15–$21 | $1,575–$2,205 |
| Stamped (matching original tile or pattern) | $17–$24 | $1,785–$2,520 |
Common add-ons on older-home walkways:
- Tearout of original walkway: $2–$4/sq ft, more if it’s thick or rebar-reinforced
- Tree root remediation and root barrier: $300–$1,500 depending on root size and depth
- Trench backfill remediation under settled section: $400–$1,800
- New step or step-face repair: $400–$1,200
- Saving and replanting border landscape: $200–$800
- Replacing a missing or damaged original brick edging: $20–$45/linear foot
Permit and HOA Considerations
Most Utah cities require a permit for a sidewalk replacement that crosses the public right-of-way (the strip between the curb and the property line). Salt Lake City, in particular, has its own sidewalk standards that the public-walk portion has to meet — thickness, slope, accessibility ramp at the corner if applicable. Private walkway from the public sidewalk to the front door is usually homeowner’s decision, no permit required.
Historic district overlays are the bigger constraint. The Avenues, Capitol Hill, and parts of central Sugar House have historic district designations that may require any visible-from-street replacement to use period-appropriate materials and finishes. Check before you plan a stamped or modern finish in those areas. A reputable contractor handles this verification as part of the bid.
Working Around Mature Landscape
The walkway in an older home is often surrounded by 50-year-old trees, established perennial beds, mature shrubs along one or both sides, and irrigation lines that nobody mapped when they were buried in 1973. Some of what we do differently on these jobs:
- Hand excavation along sensitive root zones instead of mechanical — slower, but doesn’t kill the tree
- Relocating or temporarily lifting border plants before tearout, with planting back the same week
- Hand-digging and capping irrigation lines we hit during excavation rather than guessing where to cut
- Coordinating with the homeowner’s lawn service if grass has to be cut along the walkway edge to make a clean line
This adds time but it’s the difference between a walkway replacement that integrates with the home and one that looks like construction damage in the front yard for the next two summers.
Build Process & Timeline
For a typical 100–150 sq ft front walkway replacement on an older home, expect about 3 to 5 days on site:
- Day 1: Tearout, excavation, root or trench remediation, debris haul-off, landscape protection
- Day 2: Compacted base, forms, rebar or fiber, joint marking, color or finish sample if needed
- Day 3: Pour, finish to match original, sawcut or tool joints
- Days 4–7: Cure (no foot traffic on the slab)
- Day 7+: Foot traffic okay; replant any landscape we removed; reseal at week 4
The right pour windows in Utah are mid-May through early October. Before May the ground is too wet and frost can still affect the cure; after October cold pours need additives or insulation that complicate finish matching. Our deeper post on when to pour concrete in Utah covers the seasonal calendar in full.
Picking the Right Contractor for an Older-Home Walkway
The mistake we see most often is hiring a contractor who pours the same broom-finish walkway on every job regardless of the home’s era. They tear out a 1930s salt-finish walkway, replace it with standard 4’ wide gray concrete, and the home loses character that money can’t easily put back.
Questions to ask before signing on an older-home walkway:
- Have you matched a salt finish, exposed aggregate, or original score pattern before? Can I see photos?
- How are you planning to handle the existing tree roots / step transition / landscape borders?
- What thickness and reinforcement are you specifying, and why?
- Will you pour a small finish sample I can approve before the main pour?
- What’s your plan for the public sidewalk transition if applicable?
- Are you familiar with [my neighborhood’s] historic district guidelines if applicable?
If a contractor’s quote treats your 1948 walkway the same way they’d treat a 2018 walkway, they’re the wrong contractor for this job. Our guide on choosing a concrete contractor in Salt Lake City walks through the broader vetting process.
Our Take
Older-home walkway replacement is one of the highest-leverage exterior projects on a historic Utah home. Done well, it preserves curb appeal, fixes the trip hazards and drainage problems that have been getting worse for a decade, and adds another 50 years of life to a home’s public face. Done badly, it strips character that is genuinely hard to recover and creates a new visual mismatch that ages poorly.
The cost difference between a standard walkway and a properly matched replacement is usually $400–$1,200 on a typical front-of-house run. On an older home, that’s the difference between a walkway that looks like it was always there and one that looks like the house got a bandage. Spend the small premium, get the base right, and you’ll never have to think about it again.
Replacing a Walkway on an Older Utah Home?
We pour walkways across the Salt Lake Valley with finish matching for craftsman, mid-century, and historic homes. Free walkthrough, finish sample included on every quote.
Get Your Free Estimate