How to Prep Your Concrete for Utah Winter: The Fall Checklist (2026)
Quick answer: Four jobs, in order: fill cracks and caulk joints while daytime temps are still warm, seal by mid-October (sealers need 50°F+ and a dry slab), get water draining away from every slab before the ground freezes, and stock sand instead of salt — especially on concrete less than a year old. Fall prep runs a few hundred dollars on a typical driveway. The freeze-thaw damage it prevents runs thousands.
Every spring we walk driveways that looked fine in September and look ten years older by March. The damage didn’t happen gradually — it happened in a few dozen freeze-thaw cycles, working on cracks and standing water that were all visible, and all fixable, back in the fall. This is the checklist we’d run on our own homes, with real timing for the Wasatch Front.
Why Fall Prep Matters More in Utah Than Almost Anywhere
Utah’s winter problem isn’t the cold — it’s the cycling. Valley temperatures along the Wasatch Front routinely cross freezing dozens of times per winter: warm afternoons melt snow into every crack and pore, and hard nights freeze it. Water expands about 9% when it freezes, and inside concrete that expansion works like a hydraulic jack. The full damage mechanism — spalling, scaling, D-cracking — is covered in our freeze-thaw damage guide; the short version is that every entry point you close in October is a jack that never gets placed.
The first hard freeze in the Salt Lake valley typically lands in mid-to-late October (earlier on the benches and in Utah County cold pockets). Everything on this list works backward from that date.
The Fall Checklist
| Task | Do It By | Typical Cost (600 sq ft driveway) |
|---|---|---|
| 1. Walk & inspect every slab | Late August – September | Free |
| 2. Fill cracks, re-caulk expansion joints | September | $30–$80 DIY · $250–$600 pro |
| 3. Deep clean (oil, leaves, organic stains) | September | $0–$50 DIY |
| 4. Seal | Mid-October at the latest | $120–$300 DIY · $500–$1,000 pro |
| 5. Fix drainage & redirect downspouts | Before the ground freezes | $0–$150 (downspouts) and up |
| 6. Structural repairs (settled panels, spalling) | September – October | Varies — see repair guide |
| 7. Swap salt for sand | Before first snow | $10–$20 |
1. Walk every slab while it’s dry
Driveway, walkways, patio, porch steps, RV pad. You’re looking for three things: cracks wider than a credit card, expansion joints where the caulk has pulled away or gone hard, and anywhere water sits for more than an hour after rain or sprinklers. Mark them with chalk — that’s your work list.
2. Fill cracks and re-caulk joints before the freeze
Hairline surface cracks are mostly cosmetic. Anything 1/8” or wider is a water entry point and needs to be filled with a polyurethane concrete crack sealant — not the cheap acrylic stuff, which fails in one Utah winter. Same for expansion joints: their whole job is keeping water out of the gap between slabs, and dried-out caulk does the opposite, funneling meltwater straight under the panel where it freezes and heaves. Caulk needs a dry slab and temps above about 40°F to cure, which is why this is a September job, not a November one.
3. Clean it — especially leaves and oil
Wet leaf mats hold moisture against the surface for weeks and stain it in the process; oil spots repel sealer so the spot under your car ends up as the one unprotected patch on the whole driveway. Degrease oil spots, rinse the slab, and let it dry fully before any sealing.
Sealing: The Highest-ROI Job on the List
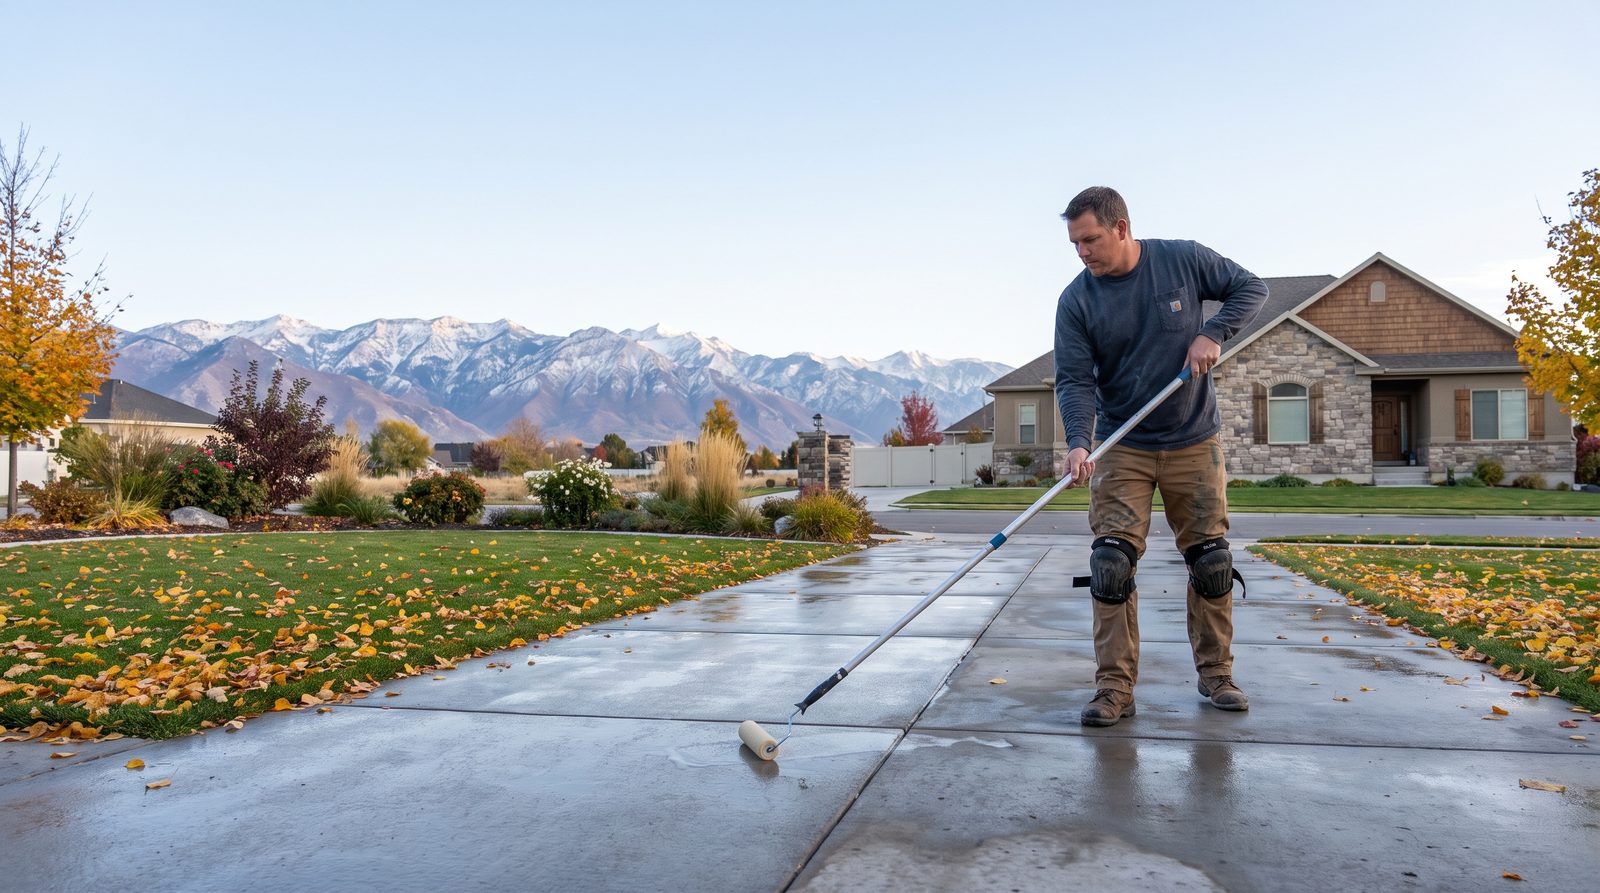
If you only do one thing before winter, seal. A sealed slab sheds the meltwater that an unsealed slab absorbs, which directly cuts the number of freeze-thaw jacks working inside your concrete. What matters is using the right type:
| Sealer Type | Best For | Lifespan | Installed Cost / Sq Ft |
|---|---|---|---|
| Penetrating (silane/siloxane) | Driveways, walkways — the Utah default | 5–10 years | $1.00–$1.75 |
| Acrylic topical | Stamped & decorative concrete (restores color) | 1–3 years | $0.85–$1.25 |
| Epoxy / polyurethane | Garage floors, interior slabs | 5–10 years | $3–$7 |
For a standard broom-finished driveway, a penetrating silane/siloxane sealer is what you want: it chemically blocks water absorption without changing the look or making the surface slick, and it stands up to freeze-thaw better than anything topical. Three timing rules:
- Concrete poured this year needs at least 28 days cured before sealing — 60+ is better. An August pour can be sealed in October; an October pour waits until spring. (Where your pour sits on that curve is in our cure timeline guide.)
- Sealers want 50–90°F and a slab that’s been dry for 24 hours. Along the Wasatch Front that makes mid-September through mid-October the window. Wait for November and you’re gambling on a warm week that may not come.
- Already sealed? Pour a cup of water on the surface. If it beads, you’re good for another year. If it darkens and soaks in, it’s time.
Drainage: Where Winter Damage Actually Starts
Freeze-thaw needs water, and most of the water attacking Utah driveways comes from somewhere fixable: a downspout dumping onto the slab, a lawn graded toward the concrete instead of away, or a low panel where snowmelt pools every afternoon. Before the ground freezes: extend downspouts at least 4–6 feet away from any slab, make sure sprinklers are blown out before the first hard freeze (a cracked head leaking under a slab all winter is an expensive spring surprise), and deal with any spot where water ponds against concrete or your foundation — our yard drainage and grading guide covers the fixes from downspout extensions up to regrading.
Repairs That Can’t Wait for Spring (and Ones That Can)
| Fix Before Winter | Fine to Wait Until Spring |
|---|---|
| Open cracks 1/8” and wider | Hairline crazing and surface discoloration |
| Settled panels where water pools | Cosmetic resurfacing projects |
| Active spalling / flaking surfaces | Expansion projects (new pads, extensions) |
| Raised trip edges you’ll shovel across all winter | Decorative upgrades like stamping or staining |
The left column is everything freeze-thaw will actively make worse between November and March — a $400 crack repair in September is routinely a $4,000+ panel replacement by April. If you’re not sure which side of the line a problem falls on, the diagnostic table in our repair vs replacement guide will sort it, and the spring checklist is this article’s counterpart for whatever winter does anyway.
The Salt Rule
Deicing salt is the single most damaging thing Utah homeowners voluntarily put on their own concrete. It multiplies freeze-thaw cycles by lowering the freeze point (more melt-refreeze swings per day), and on concrete less than a year old it’s a hard no — no rock salt, no ice melt, nothing. First-winter concrete is at its most vulnerable, and salt damage on a new pour is not covered by anyone’s warranty, including ours. Use sand for traction, shovel promptly with a plastic-edged shovel, and if you must use a deicer on older concrete, calcium magnesium acetate (CMA) is the least aggressive option.
Still Time to Pour Before Winter?
Yes — and honestly, this is the best pour window of the year. Late August through early October gives new concrete warm days, cool nights, and a full cure before the first freeze. Pour much past mid-October in the valley and cold-weather protection starts driving the cost and the risk. The full season-by-season breakdown is in the best time to pour concrete in Utah.
Get Your Concrete Winter-Ready
Crack repair, sealing, drainage fixes, or a full replacement before the freeze — fall slots fill up fast once the first storm hits the forecast. Free estimates, usually within 24 hours.
Get Your Free Estimate